
What is Shopify?
The platform offers a comprehensive set of tools and features that allow entrepreneurs, retailers, and businesses of all sizes to build and customize their online stores without the need for extensive technical knowledge. Shopify provides an intuitive and user-friendly interface, making it accessible to both beginners and experienced users.
How to add Products to Shopify?
Let’s dig into the process of adding products to Shopify.
Step-1: Log in to Your Shopify Account
To create a product page on Shopify, follow these steps
a. Access your Shopify backend
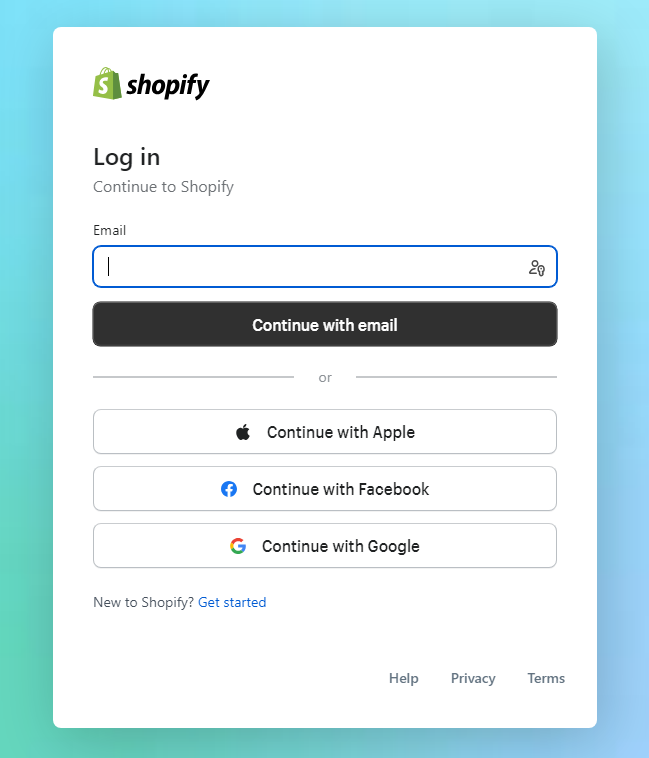
tart by logging into your Shopify account using your store address, email address, and password. Visit the Shopify website, click on the “Log in” option, and enter your credentials. If you want quicker access in the future, you can check the “remember me” option, but avoid doing this on shared devices.
a. Access your Shopify backend
Once you’re logged in, locate the “Products” tab below the Search option on your Shopify admin dashboard. Click on the “Products” tab to reveal further options, including “Add a product” or “Import products.
c. Add a new product
Click on “Add a product” to proceed to the product creation page. This is where you can enter all the necessary information for your new product.
By following these steps, you’ll be able to create a product page and add your products to your Shopify store efficiently.
Step-2 Add Product Details
Adding information to your product page in Shopify is a crucial step in the process. It involves several key details that can significantly impact your customers’ experience and purchase decisions:
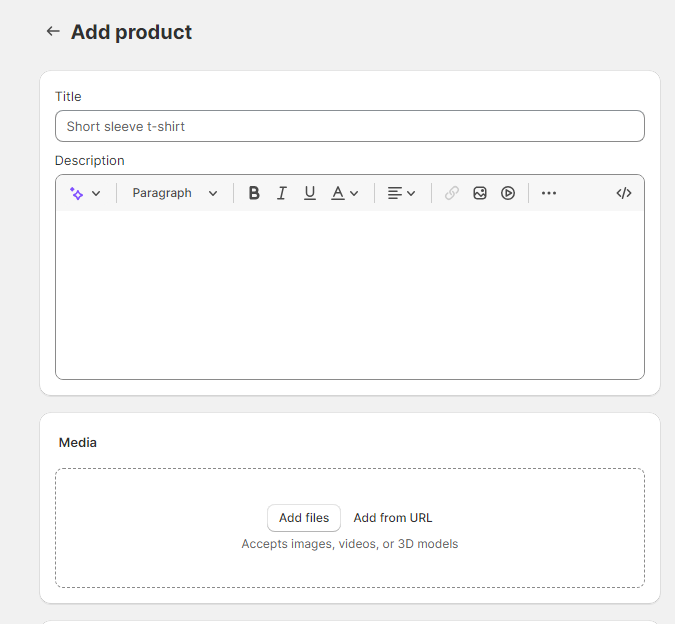
Title: Your product title should be concise and memorable, making it easy for both you and your customers to refer to the product. It doesn’t have to include all the information about the product since the Description section will cover the details. Consistency is essential; if you include the color in one product title, maintain the same format for others.
Description: The product description is where you showcase the emotional and rational reasons why customers should add the product to their cart. Understand your target audience and highlight how the product can benefit them. Utilize the rich text editor available in this section to emphasize crucial information and create a compelling narrative that impresses your customers.
By optimizing the Title and Description sections, you can create a product page that attracts and engages potential buyers, ultimately increasing your chances of successful sales on Shopify.
Step 3: Add Product Images
Once you’ve filled in all the essential product details, the next step is to add images that provide valuable insights to your customers about what they’re buying. Offering multiple relevant images can significantly enhance the shopping experience.
When naming your images, use a consistent format and separate each word with a dash. This organization helps with image retrieval and improves your SEO ranking, making your products more discoverable.
Whenever possible, include several images of your product on each page, capturing different angles or showcasing various color options if available. Ensure that each image is of high-quality and clarity, as clear visuals are crucial for customer engagement.
It’s essential to obtain proper permission before using any images. Make sure you have the right to use the images you access to avoid any potential copyright or legal issues.
By providing comprehensive and visually appealing images, you create a compelling product page that helps customers make informed purchasing decisions and enhances the overall appeal of your Shopify store.
Step 4: Add Price Details
After you’ve finished the main part of your product description, proceed to fill out the remaining details. In the “Inventory” and “Variants” section on Shopify, you can enter crucial information, such as the product SKU, price, shipping options, and weight.
Price: Take caution when determining your product’s price. Ensure it aligns with your brand positioning and doesn’t veer too high or low. Shopify offers a discount code feature, allowing customers to apply promotional offers. Additionally, it’s essential to compare the price with the cost per item to ensure profitability.

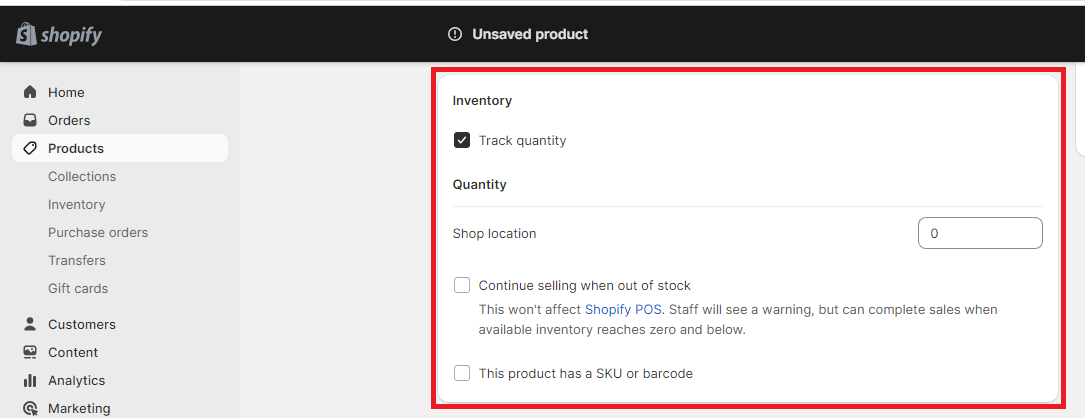
Step 5: Add Inventory Details
Now, proceed to enter essential inventory information, including SKU (Stock Keeping Unit), Barcodes, and Inventory Policy.
SKU: The term “Stock Keeping Units” (SKU) refers to unique codes that help you identify each product within your company. Each product in your store should have its own distinctive code.
Barcodes: Barcodes act as identifiers, particularly valuable if you are a reseller or planning to sell your products globally. These unique codes provide product information and, in some channels, a Global Trade Item Number (GTIN) is required before publishing a product. Depending on your product type, you may use Universal Product Codes (UPC), European Article Numbers (EAN), or International Standard Book Numbers (ISBN) as different facets of the GTIN.
Step 6: Add Shipping Details
In this step, if your product requires shipping, you’ll need to provide shipping details. Tick the box indicating that “this product requires shipping.” Then, enter the following information:
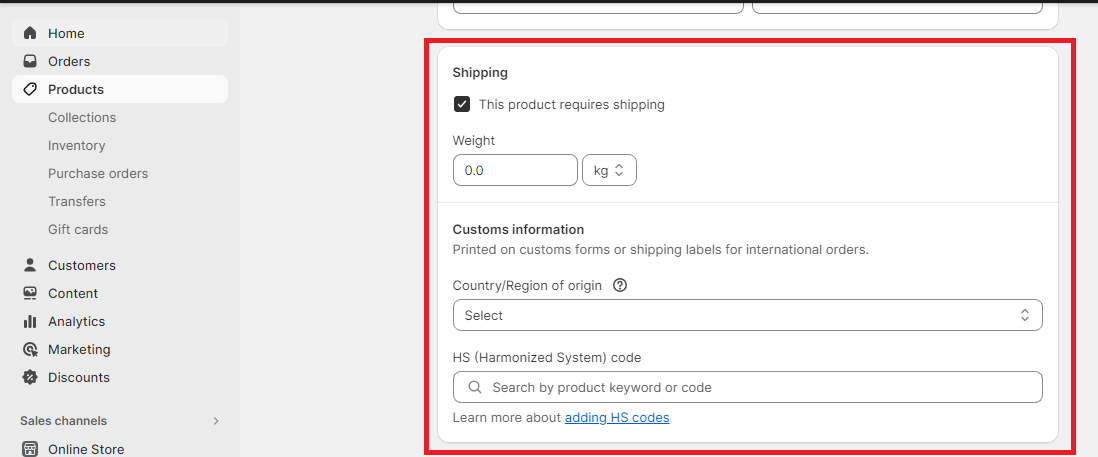
Country/Region of Origin: Indicate the country or region where your product is manufactured or originates from.
HS (Harmonized System) Code: The HS code is used for products when you sell them overseas. This code ensures that appropriate tariffs are applied to the customer’s order in international transactions.
By completing these shipping details, you ensure that your products are correctly categorized for shipping purposes, making the process smoother for both you and your customers, especially in international sales.
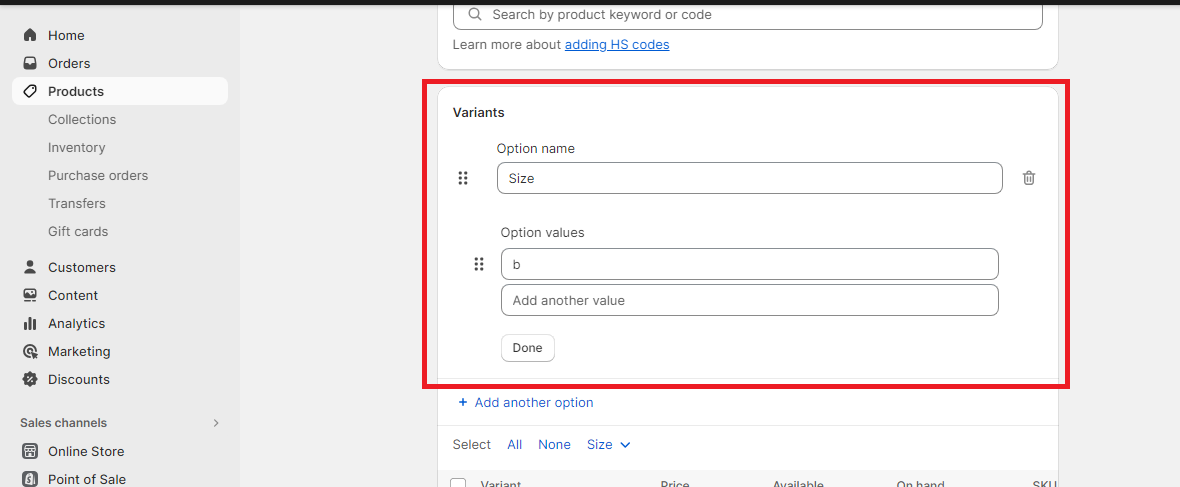
Step 7: Add Product Variant
The product’s variations should be included. Various characteristics of a product include its sizes, colors, and weight. Up to 100 versions can be produced by combining various features. For instance, you can combine the characteristics of a t-shirt to create a white small t-shirt, white large t-shirt, yellow small t-shirt, or blue small t-shirt by choosing from a variety of colors and sizes for the garment. Enter the variant’s specifics, and then get a preview.
Step 8: SEO Listing Preview
SEO (Search Engine Optimization) plays a vital role in directing customers to your online store. After providing all the relevant product information, the next step is to incorporate keywords that will attract customers through search engines. Fortunately, Shopify often generates meta descriptions and page titles automatically.
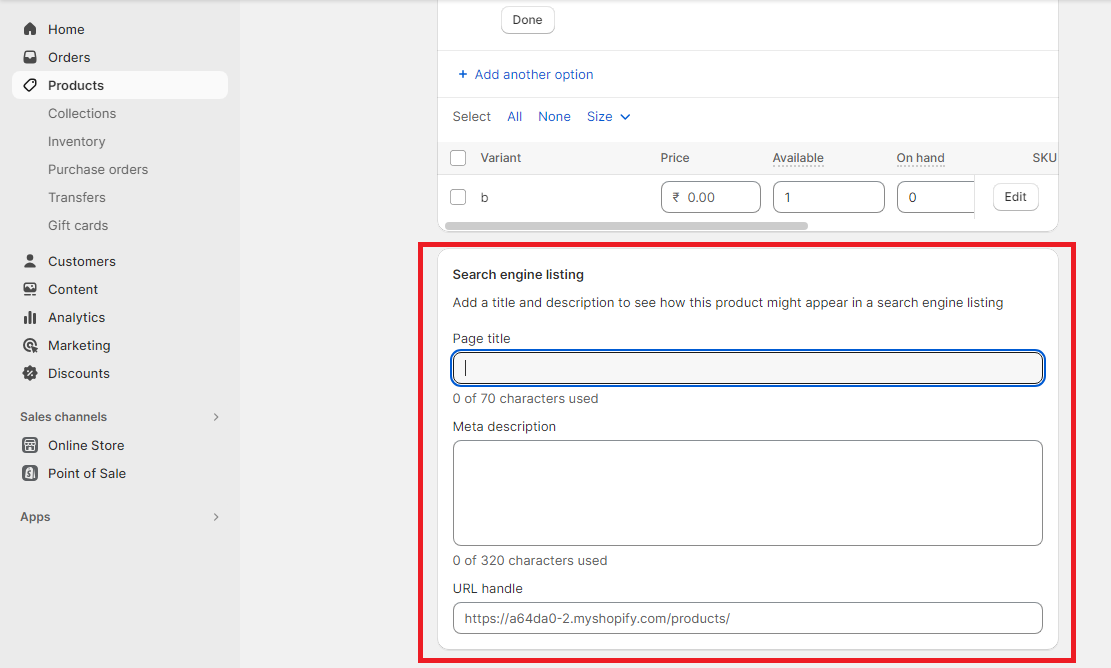
Additionally, in the “URL and Handle” section, you have the opportunity to edit your website address. While adding keywords here can be beneficial, remember that URLs cannot contain any spaces. Therefore, use hyphens or underscores to separate words and make the URL user-friendly and easily shareable.
By implementing effective SEO strategies, you can increase your online store’s visibility and attract more potential customers to explore and purchase your products.
Step 9: Save and Preview Your Product
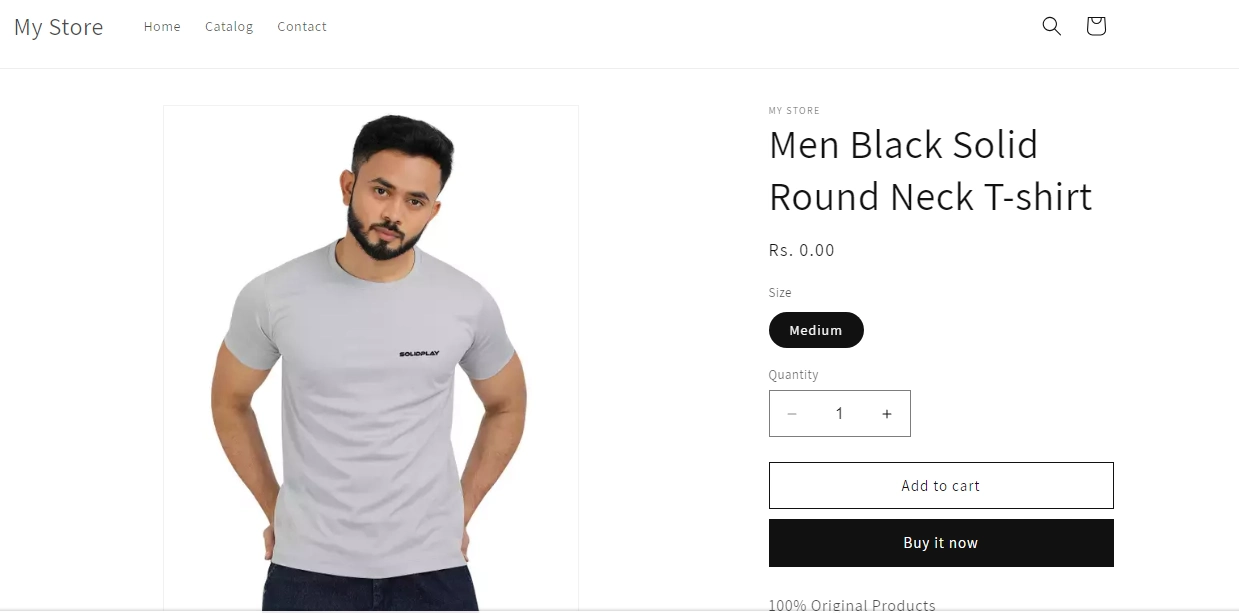
When you’re ready, click the “Save Product” button to make the product visible on your Shopify store.
To see how your product will look to customers, use the “View on your website” option to preview it. If you spot any issues or need to make updates, you can easily edit the product by returning to the first step.
Remember that you can always edit or modify your products at any time. Simply log in to your Shopify admin page, go to “Products,” and click on the product name you wish to update. Make the necessary changes and click “Save” to apply the updates.
By following this process, you’ll have successfully added a new product to your Shopify store and ensured it’s ready for customers to explore and purchase. Happy selling!