What Is A category ?
A category typically represents a top-level classification for grouping objects based on shared characteristics or predefined standards.
Within the context of Shopify, a category is referred to as a “collection.” In a more focused explanation, products are frequently organized into collections to facilitate customers’ product discovery. This grouping of collections is referred to as a Category. As an example, a Category might encompass collections for men’s, women’s, or children’s clothing. Similarly, it could cover specific item types like cosmetics or home goods, and could even extend to include items on sale or seasonal products.
How To Add Category In Shopify?
In this section, I will provide you with detailed instructions on how to effectively add a new category to your Shopify store.
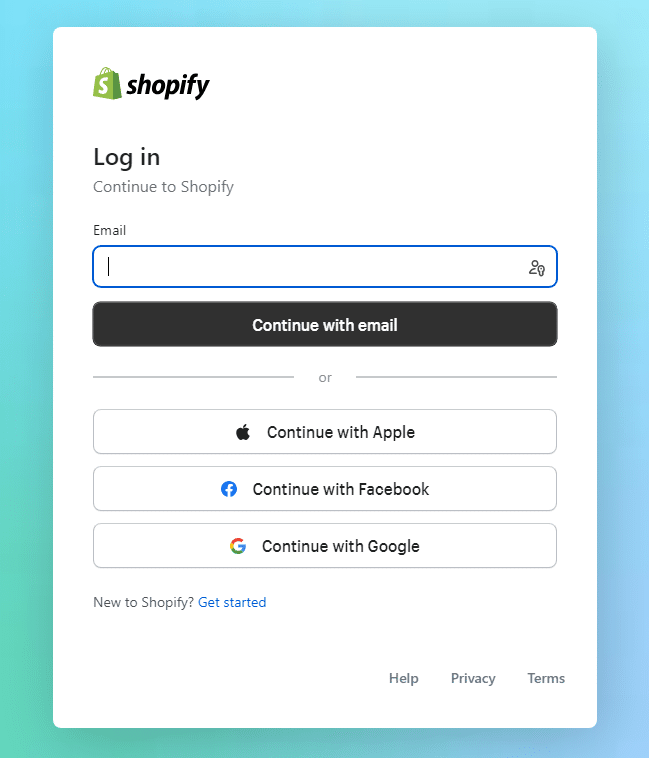
Step 1: Log In to Your Shopify Admin
Start by logging in to your Shopify admin dashboard using your credentials. If you don’t have a Shopify store yet, you’ll need to sign up for an account
Step 2. Open Collections section
Once you’re logged in, navigate to the “Products” section in the left-hand sidebar and click on “Collections.” Then Click on New Collection.

Step: 3 Configure Collection Details
In this section, you’ll have the opportunity to name your upcoming product collection, incorporate a description, upload an image, modify the presentation for search engines, and make choices regarding how products will be incorporated into the collection.
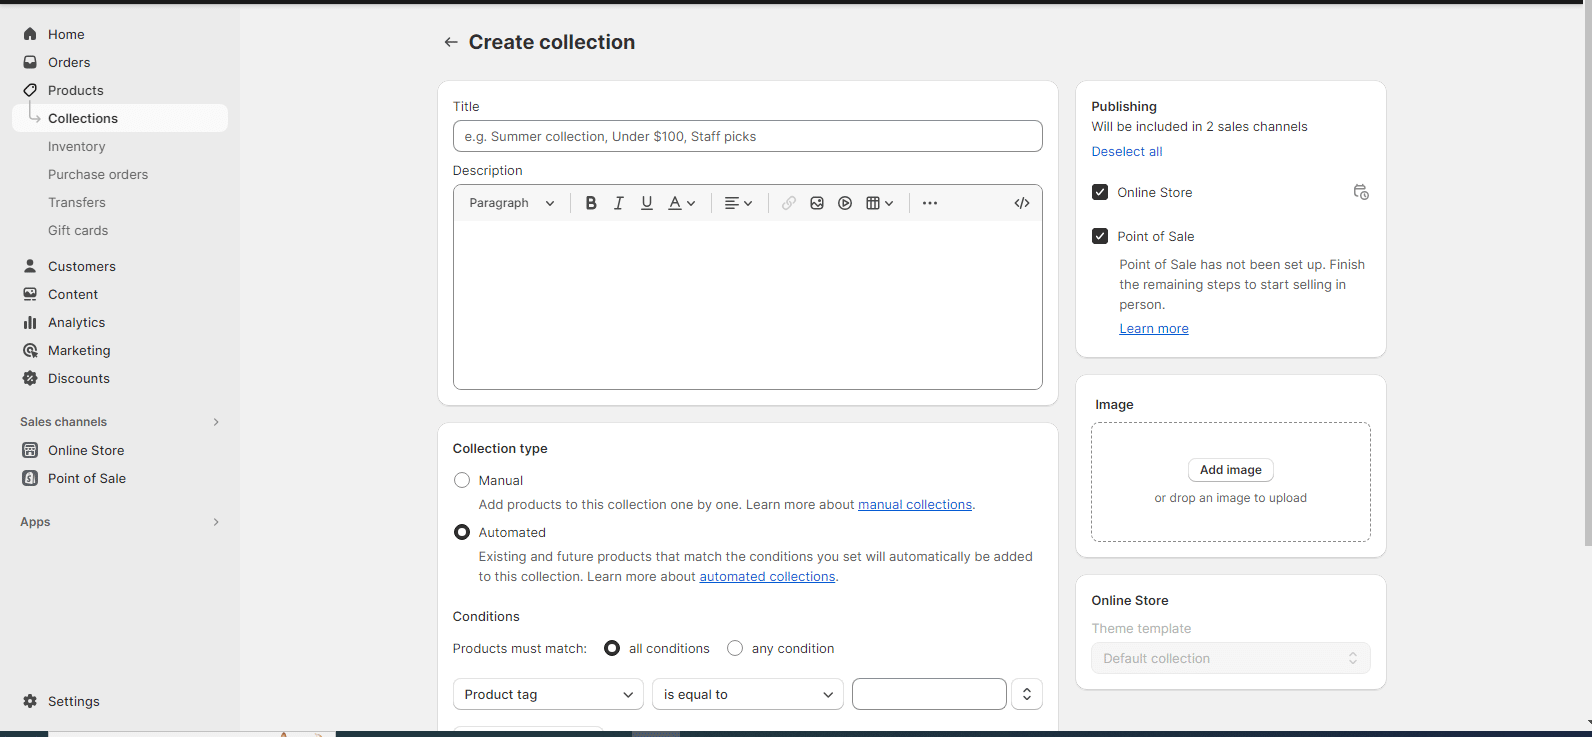
- The significance of your title cannot be overstated, as it serves as the focal point of your collection page’s headline and becomes visible wherever you incorporate your collection across your store.
- Incorporating a top-notch image at this point not only enhances your collection page’s visual appeal (positioned behind the title in the header) but also extends to other pages where the collection is featured.
- While the collection description remains optional, it plays a role in clarifying the scope of products encompassed within your collection. This description occupies a spot beneath the header on your collection page. Furthermore, from an SEO perspective, including a descriptive text that provides additional insights about your products contributes positively (search engines thrive on contextual information).
Step 4: Edit collection page SEO
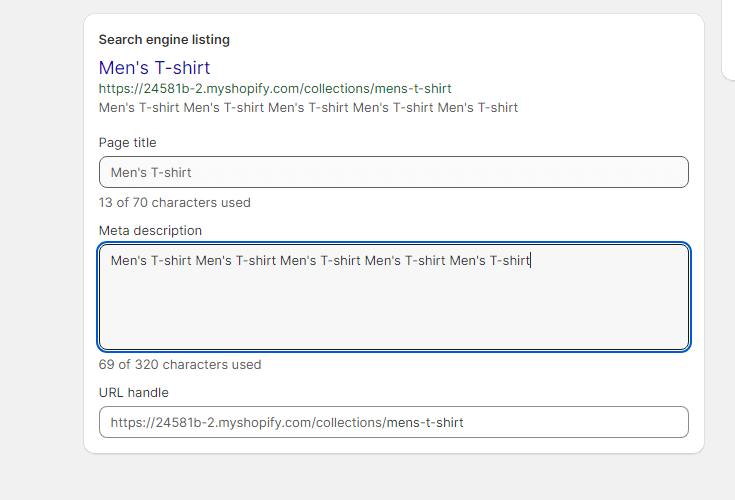
When it comes to optimizing for SEO, you have the ability to finely tailor how your collection page will appear on search engines using the final setting on this page.
Simply click on “Edit website SEO,” and proceed to modify the title, description, and URL slug. As you make adjustments, the preview of what searchers will encounter will be showcased at the top of this section.
Step 5: Add Products (For Manual Collections)
If you’re creating a manual collection, you can now add products:
- Click on Add products.
- Search for products or browse your existing inventory.
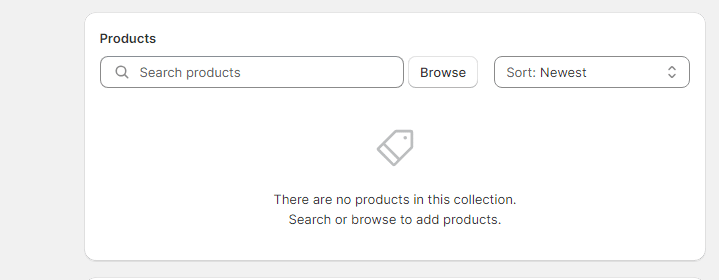
- Select the products you want to include in this collection.
- Save your selections.

Step 6: Set Conditions (For Automated Collections)
For automated collections, set the conditions for products to be automatically included based on tags, titles, vendors, etc.
Step 7: Organize Navigation
To make it easy for customers to find your new collection, consider adding it to your store’s navigation menu:
- Go to “Online Store”
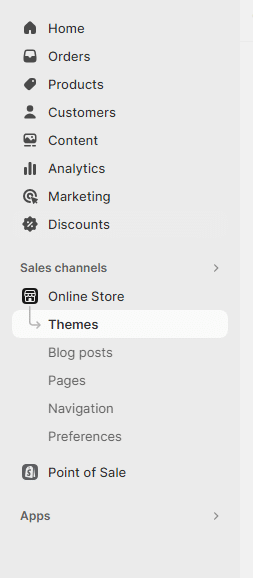
- Click on Navigation Menu and Create a new menu item.
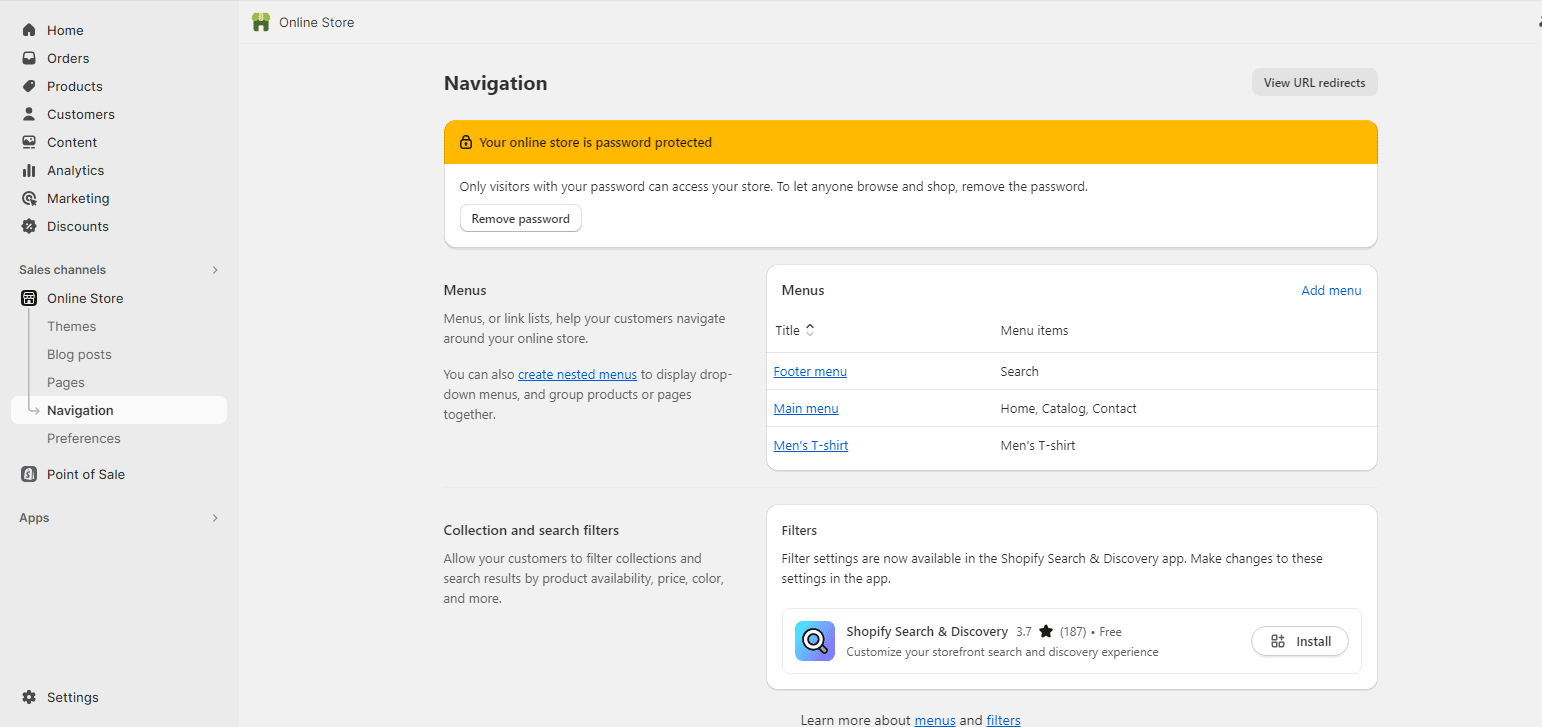
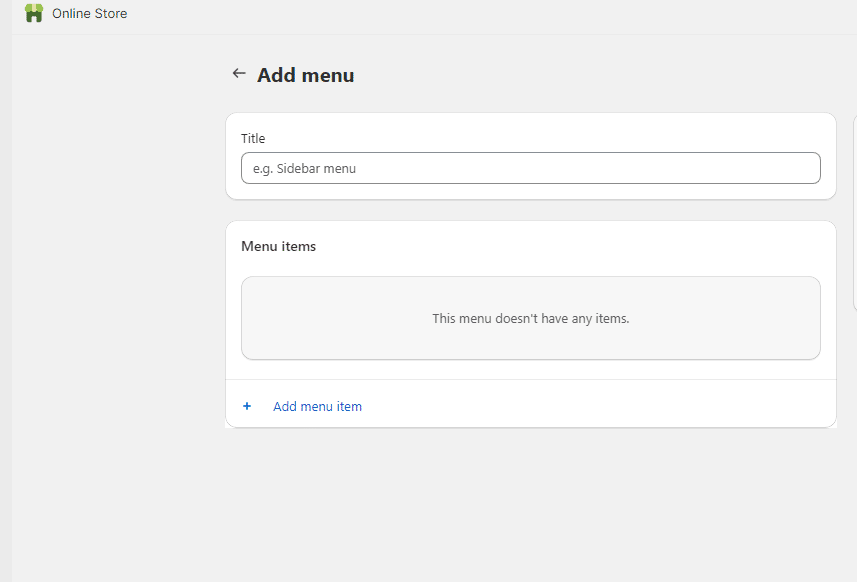
- A pop like this will appear. Fill all the necessary details and Click on add menu item.
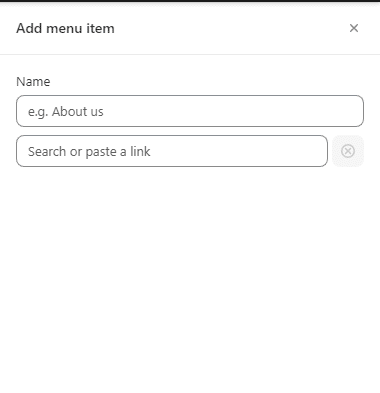
- Search your collection or paste the collection URL and link it to your collection
Step 9: Rinse and Repeat
If you have multiple categories to add, repeat the process for each one.
By following these steps, you’ll effectively add categories to your Shopify store, elevating the customer experience and presenting your products in a well-organized manner. Remember, clear and logical categories can make a significant difference in attracting customers and encouraging them to explore your offerings.

